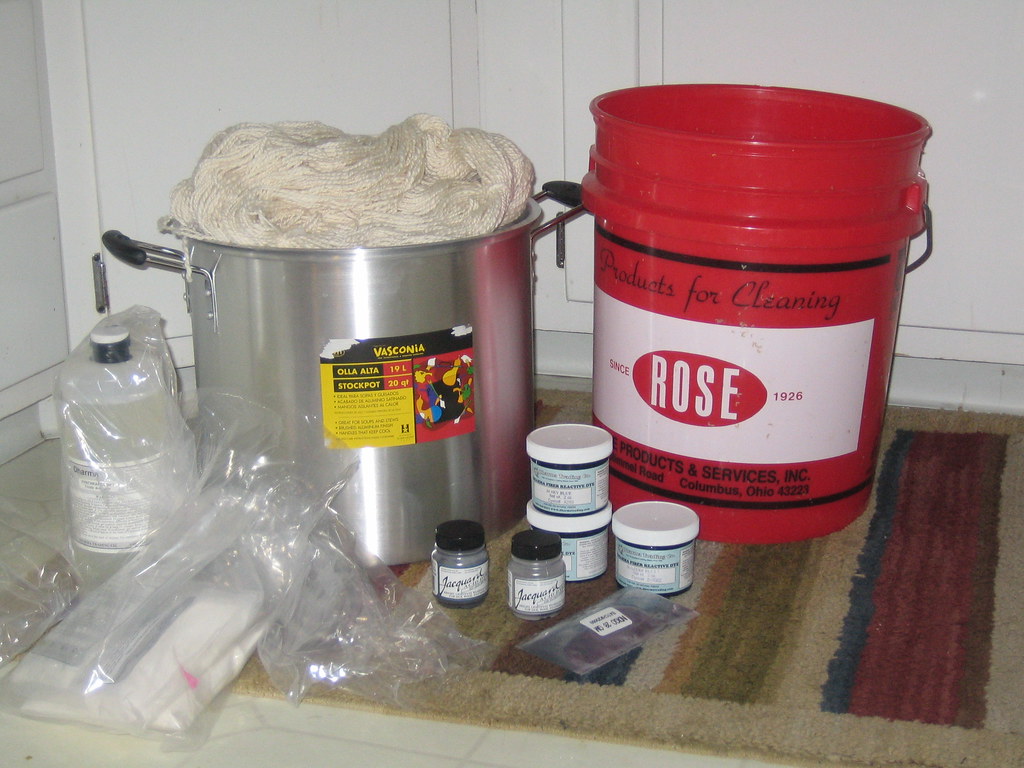
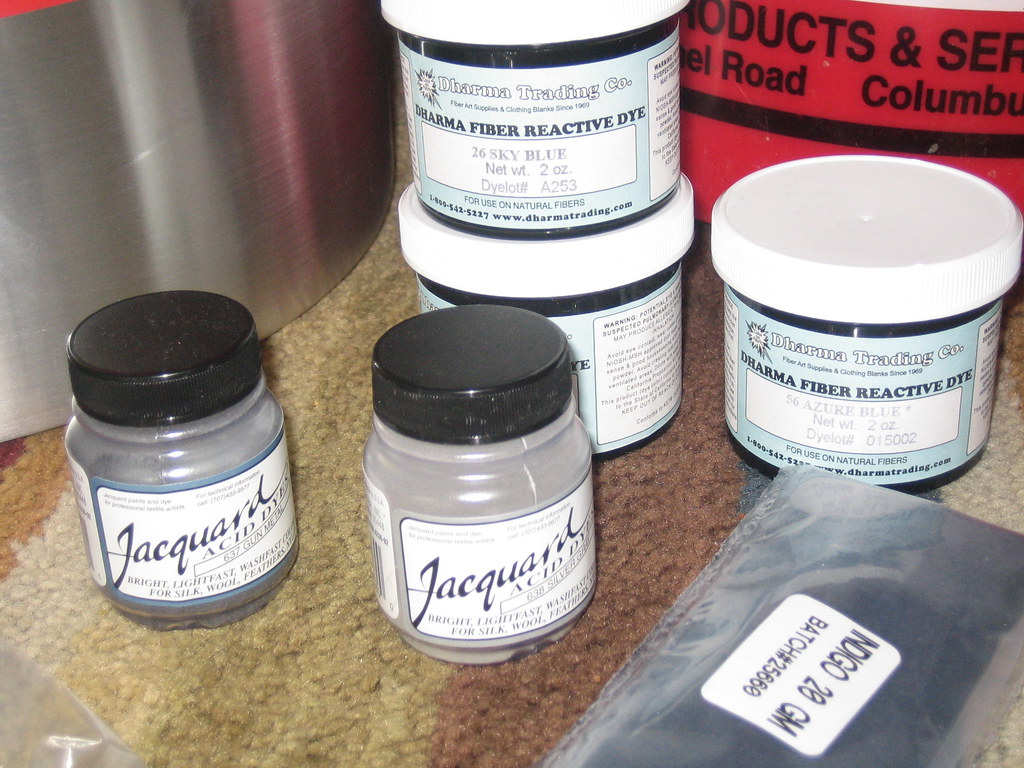
I thought it might be nice to share some of my tips for Stove Top immersion dying. It's nothing that special but sometimes it is just nice to hear what does and does not work on those funky little instructions that come with the dye. Typically I get all my dyes from
Dharma Trading but for this time I wanted to try out something a little more commercial and supposedly easier to use.
I selected the iDye packets from Joann Fabrics. Simple enough and fairly cheap with my teacher's discount. I knew I was only dying natural fibered fabrics such as my silk organza and some cotton and wool items that I wanted to revamp some life into by dying.
Tip #1 Get the dye appropriate for your fabric. Seems simple enough right. It can easily be messed up because the packets are all grouped together and it isn't uncommon for them to get mixed up. Just read each packet and make sure it is the right one to match your fabrics. Usually it is just divided between natural fiber materials (silk, wool, cotton, linen, bamboo) vs Man made materials (lycra, polyester)
Tip #2 Baste the edges of your fabric so it frays less and keeps it's shape. This is a huge help to both the dying process as well as the pre-wash to keep your fabric from coming apart or losing it's shape because of one pulled thread.
Tip #3 Pre-Wash your fabric. It doesn't seem important but it really is. A lot of fabrics will have some sort of finish on them that you don't think about such as a simple starch to help keep shape. If these finishes or even possible dirt or previously water marks are not removed then you could end up with inconsistent color in the fabric dye. Also residue on the fabric might change the reactive nature of the dye itself.
Tip #4 Do not use a pot that you intend to eat or cook with ever again. Simply put the dye has chemicals in it. They may never be completely clean or out of your pot. Are you willing to risk your health or someone else's on the chance that they ingest something not necessarily toxic but not safe either? I bought my large soup pot just for this purpose and I bought the other one from a thrift store because I would never trust using a thrift store pot for food anyways (because I'm anal like that).
Tip #5 When the Instructions tell you to not put the 1/3 cup of vinegar directly onto your fabric you should listen. Ok for these iDye instructions it tells you to dissolve the dye in the hot simmering water first, then put in your fabric then put in your Vinegar. It is kind of darn hard not to get vinegar directly onto the fabric with you are pouring it into the mixture. I finally just put it in after the dye was dissolved and then put my fabric in. What happens if the vinegar touches the fabric is wherever it touched it gives off this instant reaction and that particular place will have a very vibrant section, It gives a bit of a tie dyed look but in shades of the color which can be cool if that's what you want but that is not what I was aiming for.
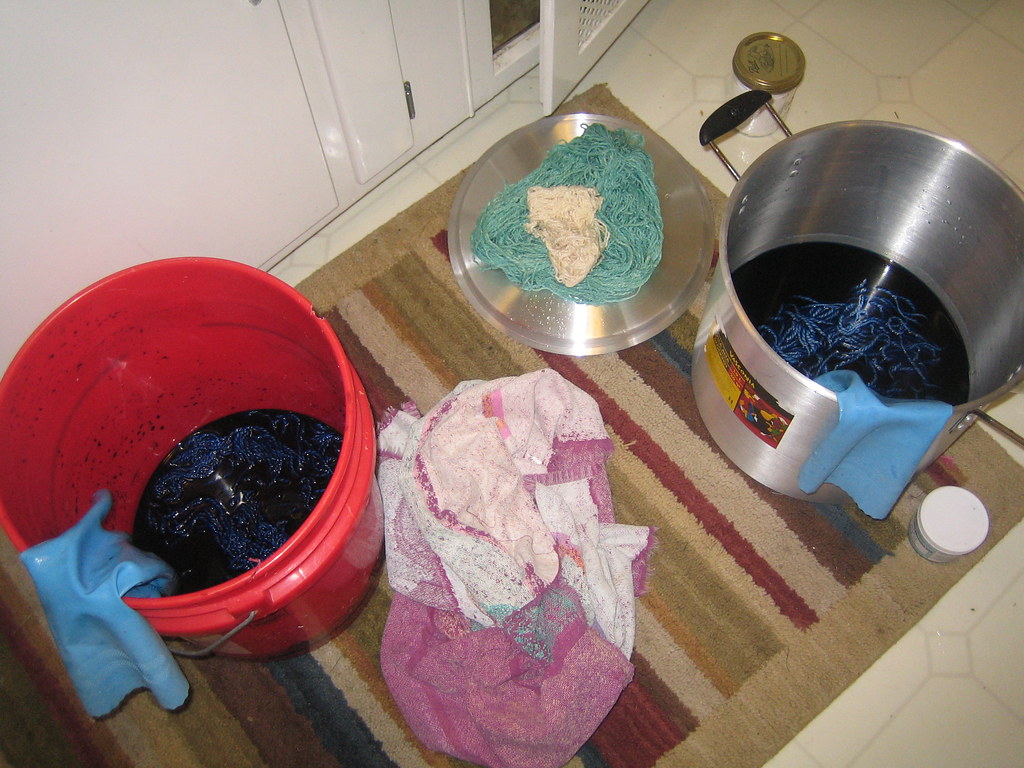
Tip #6 Timing is everything. You see that bright and vibrant yellow I have on the far right side of this photo? Now look at the far left and see that gold like olive green swatch circled in pink. Those are from the same dye bath. The difference is the timing. I followed the instructions completely for the first one which had to simmering my fabric for 15 minutes and I got the dark olive shade yellow. I tried again keep close watch on my time and how the color was seeping into the fabric and pulled it out when I felt it was saturated enough. I kept the dye pot going while I cold washed the fabric to make sure when all the dye was out it was still holding the color and vibrancy I wanted. Luckily it did, had it not back into the pot I would of put it.
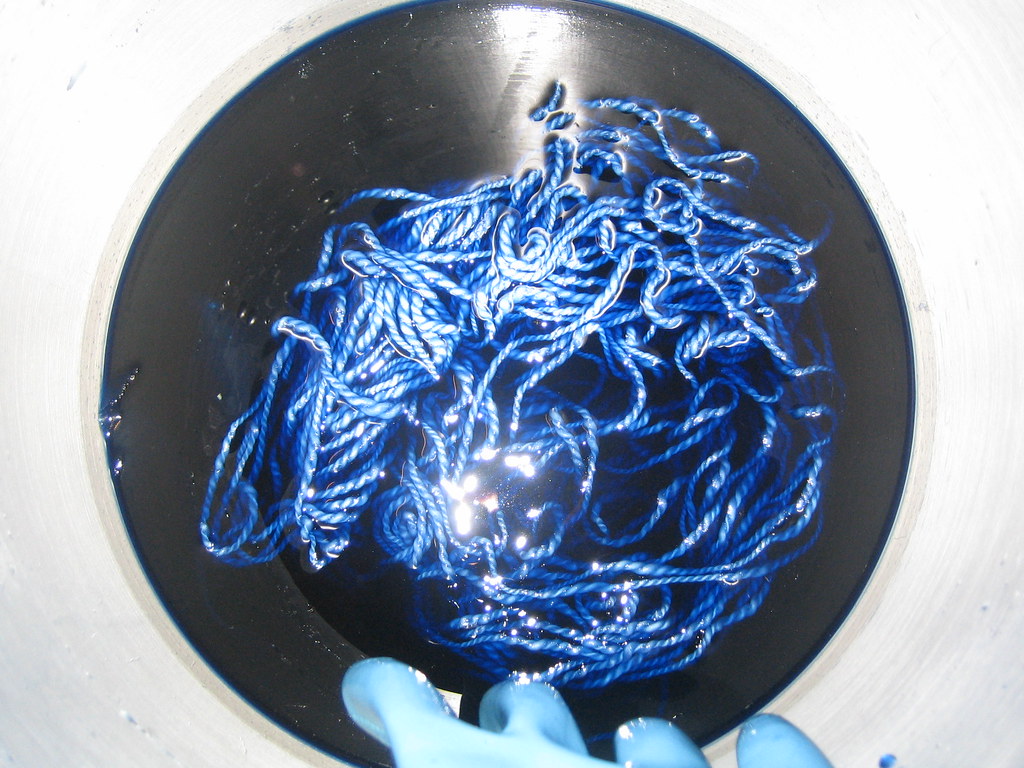
Tip #7 Cold wash it in the machine afterwards. I personally like to cold wash everything I dye afterwards in the machine because most likely whatever I dye will go into my washing machine at some point so I need to make sure it will retain it's color through the wash. This also helps a lot to get the excess dye out. The biggest thing is how with natural fibers it helps to set the color. Natural react to heat the same way we learned most molecules do back in science class. When something get's hot is expands, for natural fibers that means they open up enabling them to be changed by fabric manipulation or color (which is why we use hot simmering water for dye baths). When something get's cold it compresses, so once the dye is in the expanded fibers you close it up with the cold water to lock it into them.
That's all I've got for you folks~! Good luck and happy dye-ing!