Now that the Wedding Dress is done I am moving onto my reception dress. This is another play on the Korean style dress with a Western feel. In this dress I have decided to keep the more traditional coloring for this dress but making it a short fun dress that normally would be totally inappropriate for Korean wedding. But this is just the reception and I want to dance and have fun!
My other Best friend in Korea sent me these gorgeous embroideries as a wedding present. I decided to use the bottom one as my bodice top. It is wider then the one I am using for my wedding dress and I am planning on putting straps onto this. The upper fabric since there is more yardage I am going to attempt to make it into a short Korean style jacket. The Fabric is much more stiff and I need to pre-wash it but I'm scared to do that. Perhaps I will wait till the entire jacket is constructed (if I get that Far) before I do the wash.
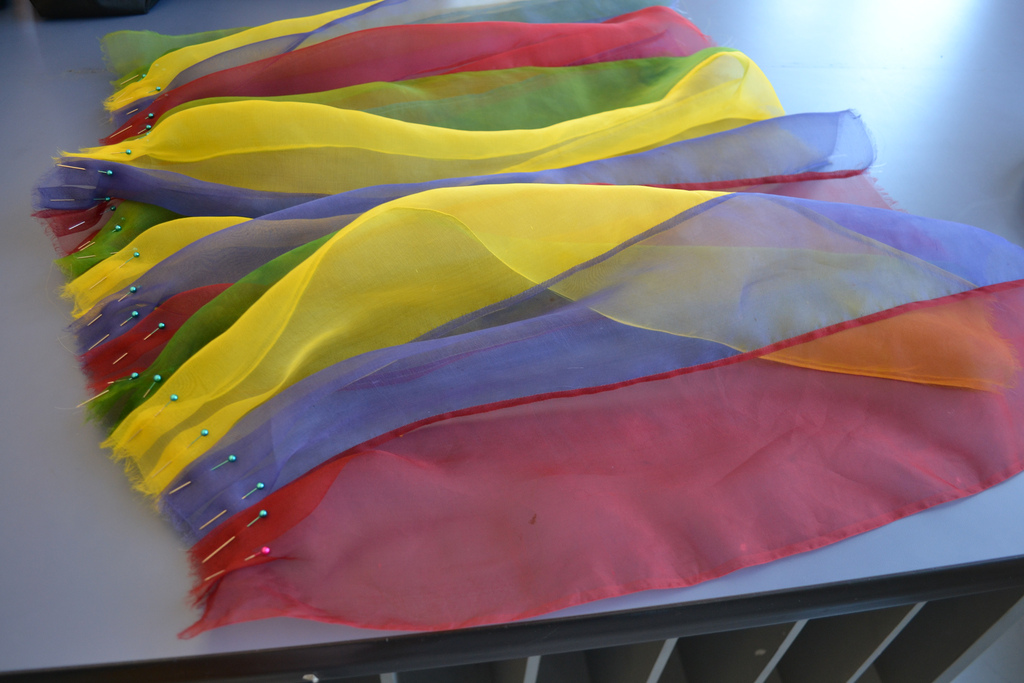
These are my colors for the skirt. Right now I just stitched the strips together but the finishing on the edges was proving to be a problem. Since this is sheer I didn't want to bulk it down with serge stitches on the inside or have them show through.
My Solution was using "invisible" thread. It's like a very low gauge fishing line. There is some strength behind this thread but you need to watch the tension as it sews and adjust accordingly. It also likes to slip out of tension so if you are not careful when winding the bobbin you can create loops the bobbin which will mess up the stitches as you come to them. Another weird quirk I ran into was how occasionally the thread would get double wound or caught up in the tension discs while sewing. In hindsight I should of used a drop or two of Sewer's Aide on the spool to help glide it through the machine.
For finishing the seams nicely I decided to employ my skills at doing french seams. When doing french seams the most important thing I feel is proper and frequent pressing. I like to do my french seams in this order.
- Sew with wrong sides together 2/8" seam allowance
- Press with iron low steam the tiny seam allowance to one side
- Turn fabric so right sides are together and press at seam closed
- Sew with 1/4" seam allowance (with right sides still together)
- Press french seam to one side
Aren't the results lovely?
After the french seams I put my pleats in to take it from 106" down to a mere 36". I'm very excited for these colors and how this is shaping out. I need to baste down these pleats and then I can start to attach them to the embroidered bodice piece.


No comments:
Post a Comment