Showing posts with label black. Show all posts

Wednesday, July 06, 2011

Finishing Up

It really isn't my fault that I am constantly distracted from doing my wedding dress. I mean shoot I still have 45 days before my wedding to get the Ceremony dress sewn, start/sew the reception dress, dye the silk for the reception dress, fit and sew the final fabric for the singer's dress, start/sew my nieces flower girl dress, oh and make the 4 bowties for the rest of the band. PLENTY of time right? Did I mention I'm also making reception and ceremony decorations and a DIY photobooth using an Eye-fi card and Ipad? Like I said plenty of time. No need to panic. Right?!

Anyways I had misplaced my dyes that I was going to use this past weekend to dye my fabrics for the reception dress. Then I realized while cleaning everything up there were a few projects that I really want to get done and out of the way before I encapsulate my entire workspace with wedding shenanigans.

Let me start by introducing you to my buddies. These Pins are my absolute favorite in the world. I've only needed 3 boxes in the past 15 years. I get them in NYC at Steinlauf and Stoller. They are just fantastic, strong and clean.  If you read through this entire post I can promise you some pointers at the end of sewing with Vinyl stretch fabric.

Ok, so what I am planning to finish up tonight is a jacket for a friend that is a hybrid of two of my patterns as she puts it.  Which are these two, The Fencer white jacket and this peplum jacket with seaming.  She wanted it to be made from this black stretch Vinyl which in itself has been a task.  Stretch fabric is already up there with silk charmeuse in my dislike to sew pile, then the addition of Vinyl where every place the needle or pin enters there is a permanent hole.  Not only that but how do you line something that is supposed to be thin and body hugging or just finish it so that it looks good inside and out?  These questions are what have mostly held me up from completing this jacket.


This is what I had to do to fit the pleated mutton sleeve into the armhole.  It is not pretty but with the pins facing that way and into the very minimum seam allowance It worked out.  I had to sew very slowly and make sure all the pleats were facing the right ways.  At the height of the sleeve cap the pleats change directions from front to back making a mini box pleat.  The result is of course beautiful, but the sewing was oh so painful.
 

Slow and Steady wins the race, right?
At least going slow gave me plenty of time to take out the pins and check on the pleats.  One of the very few times I used the speed control option on my Brother Innovis-80.

After the sleeve was sewn in it had the expected lack luster hang on the mannequin but when my friend did her fitting it had a proper shoulder to fill it.  I am still going to make some shoulder pad insert that she can snap in and out to give it more and less fullness.

Last night I left off where I had made some final decisions.  I am going to self line just the back half peplum with the same black vinyl since that is the loose part and the only part anyone might see if she is onstage or above anyone. The rest of the jacket will fit snuggly around her wasit, hips and torso so it needs the maximum stretch allowance of the fabric to give her the look she wanted.  I am going to do a turned half inch top stitch to finish the bottom and continue that over the peplum and lining to make it look a continuous line.  I am going to hand finish the parts that I can't machine sew such as bling whip stitching the part of the lining that do not have a seam to attach to.

  Is that blue painters tape?  Why yes it is. 
Here we come to the portion where I will give you some tips.

1. Not just masking tape but Blue painter's tape has been my best friend to holding down seams in this vinyl.  I don't have to worry about making pin hole marks, and the residue makes it easy to come off when I need to take it off.  You can also sew through it without too much concern that the residue will build up because 9 times out of 10 it doesn't.

2. Use a ballpoint stretch needle while Sewing this.  Since it has so much stretch in it you want to treat it just like any other stretch fabric.

3. If the vinyl is sticking you can put a little bit of baby powder on it to help it glide across the bed of the machine or paper.  I use paper because I fear the baby powder will gunk up my gears even though it isn't any more harmful then dust.  Also sewing through paper is almost like using a tear away stabilizer.  The paper method also protects the vinyl from getting feeder feet teeth marks or impressions. 

4. Change your needle at any indication of a skipped stitch or even just getting a little stick coming up from the fabric.

5. Use some Thread Heaven or Sewer's Aide on the needle while sewing to help keep it going smooth through the vinyl and you can even put a drop of Sewer's Aide on the spool of thread itself and it will also help to keep your needle smooth and lubricated.

After I get this Lining sewn in a I have a few other things to do such as the separating zipper and the mandarin collar.  Assuming all goes well and this beast of a project doesn't send me flailing my arms at the kitties in tears.  This will be a great one of kind Jacket that I will probably never sew again, at least not in a stretch or Vinyl.  I'd do it in a nice woven tapestry fabric or duck cloth.

TONIGHT WE SEW IN HELL!

Tuesday, March 30, 2010

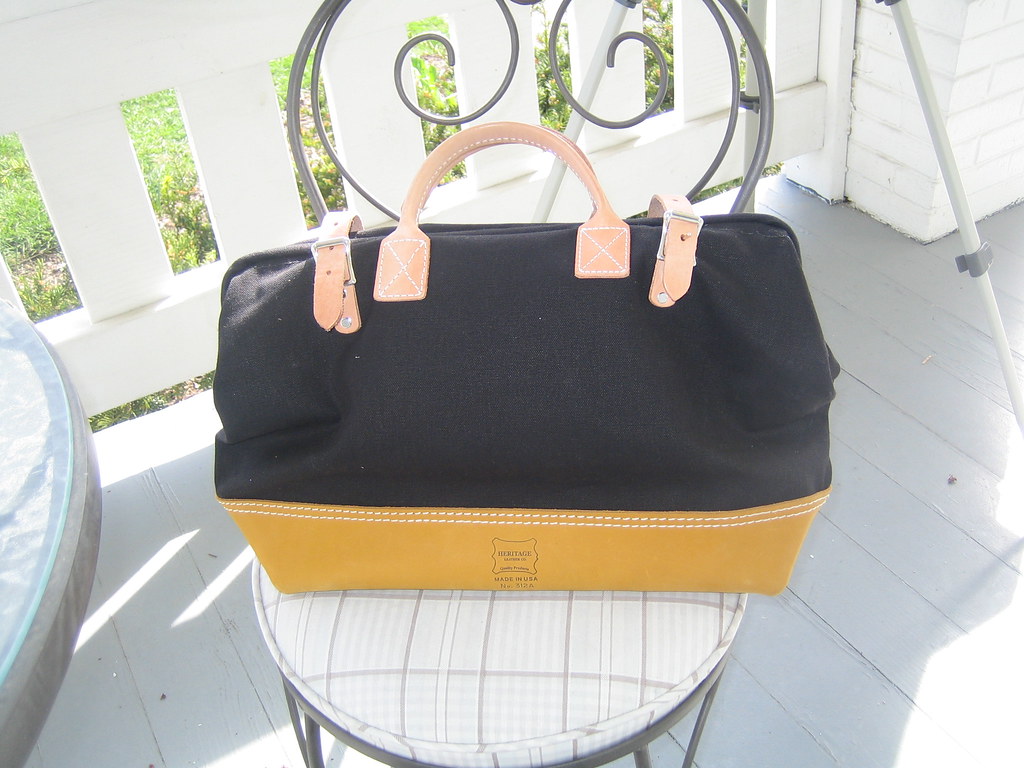
My Hertitage Bag

There are few pieces that I like to exclaim about on their own entire post but I feel this bag from Tiger Tree is one of them.

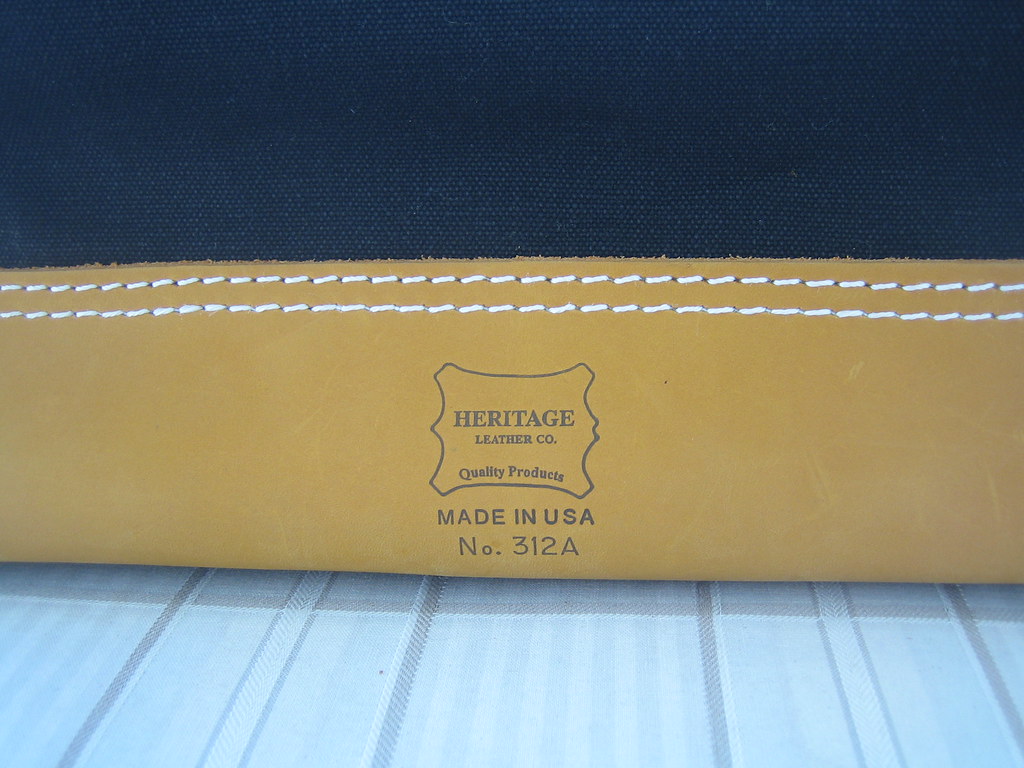
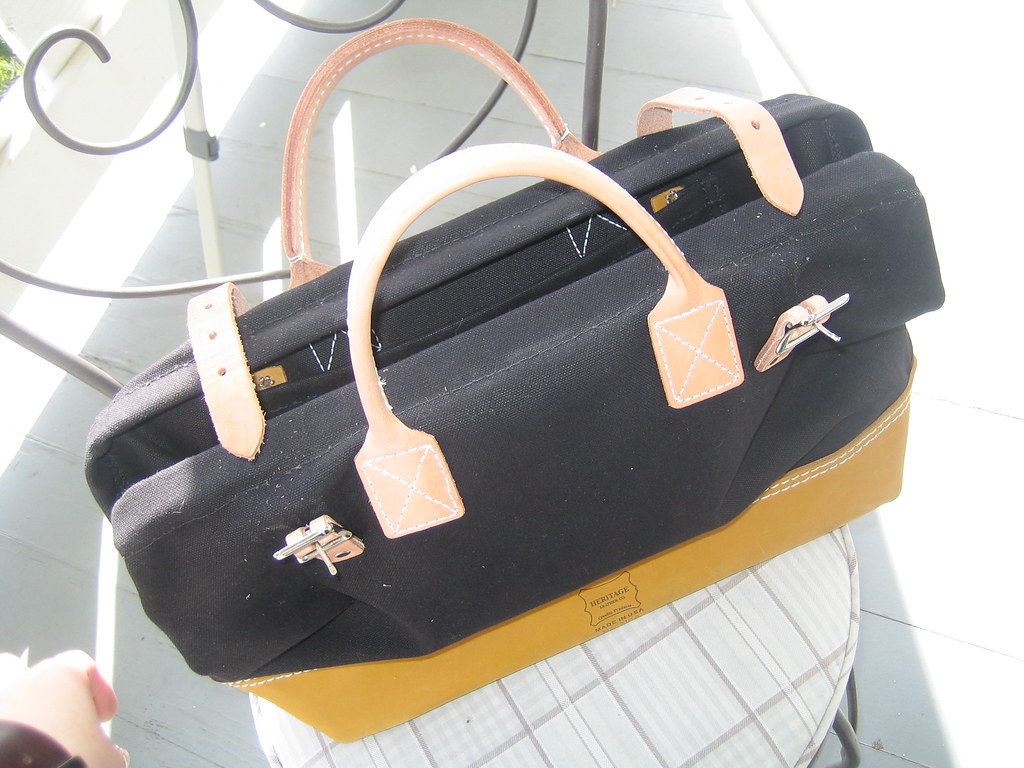
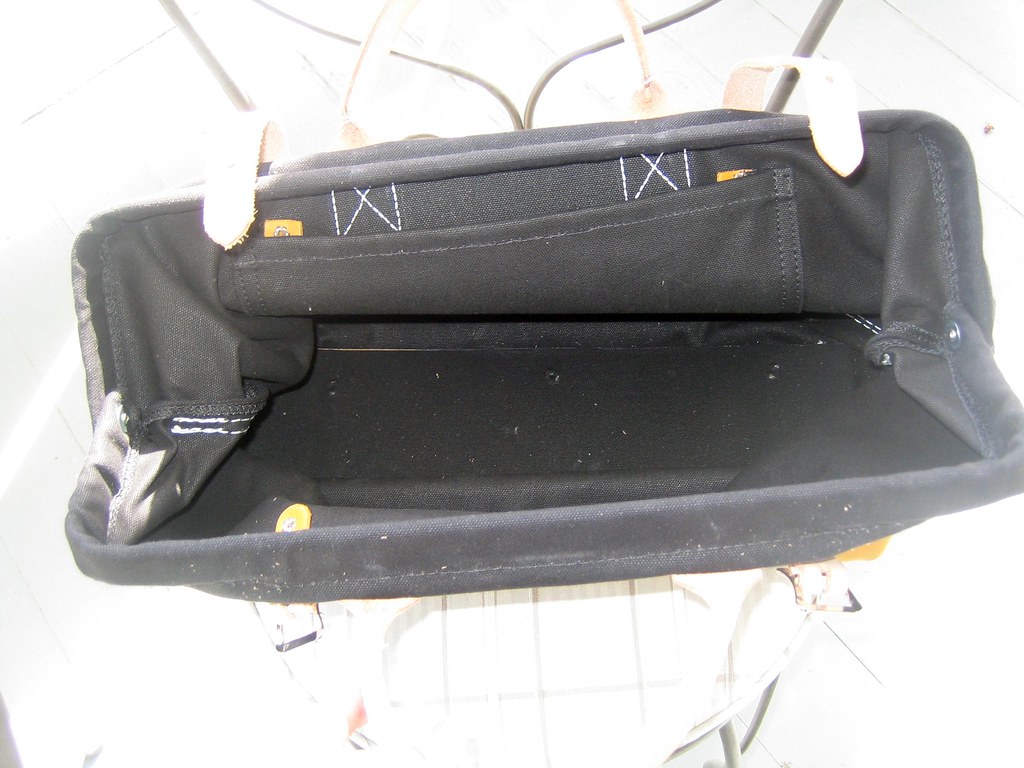
I remember when Josh and Niki first got these Heritage bags.  Josh was in the store and told me the story of how he came across these great tool bags that were canvas and leather with a doctor's bag sort of mouth metal frame.  I instantly had to have one to tote books, knitting and othes goodies.  Unfortunately at the time I was a bit shy of the stark white canvas and the sizes that he had left.  Patiently I waited and sure enough they got more, and even better custom made in collaboration with Tiger Tree.  They had them made with black and navy canvas and even though the price was higer it was well worth it.  Fortunately I also had my Groupon for them as well so that shaved off a nice chunk.

In the end it doesn't matter this bag is FANTASTIC! (please excuse the new leather dust in the photos)
This Bag is coming with me on my Shopping trip to Soho in NYC in two weeks!

Saturday, January 23, 2010

Short Comings

If you didn't know it I am extremely short.  It makes clothes look totally different on me then it does on other people.  What would be a mini skirt on some is knee length of me.  To this effect the trend of jean ripped in the knees is on my shins.   No, seriously I am nearly legal midget height I am only 4'10" I wear a size 5-5.5 shoe and sometimes I shop the children's sections of clothing.

Back to the story these ripped jeans.  I fell in love with having a pair of trendy black skinny jeans when I went back to help out some shifts at Express about two weeks ago.


First off I would never of bought these without my discount because to start I have to cut off nearly 4 inches to first fit my height.   Then for the problem of the "knee" that they think is just going to be universal.  Maybe in NYC or LA you would have better luck but a company based in the Midwest Corporately should know better.  Majority of the clients do not run under if your a bigger size you will be taller!  Or that everyone is a 5'8" bombshell of long lean legs.

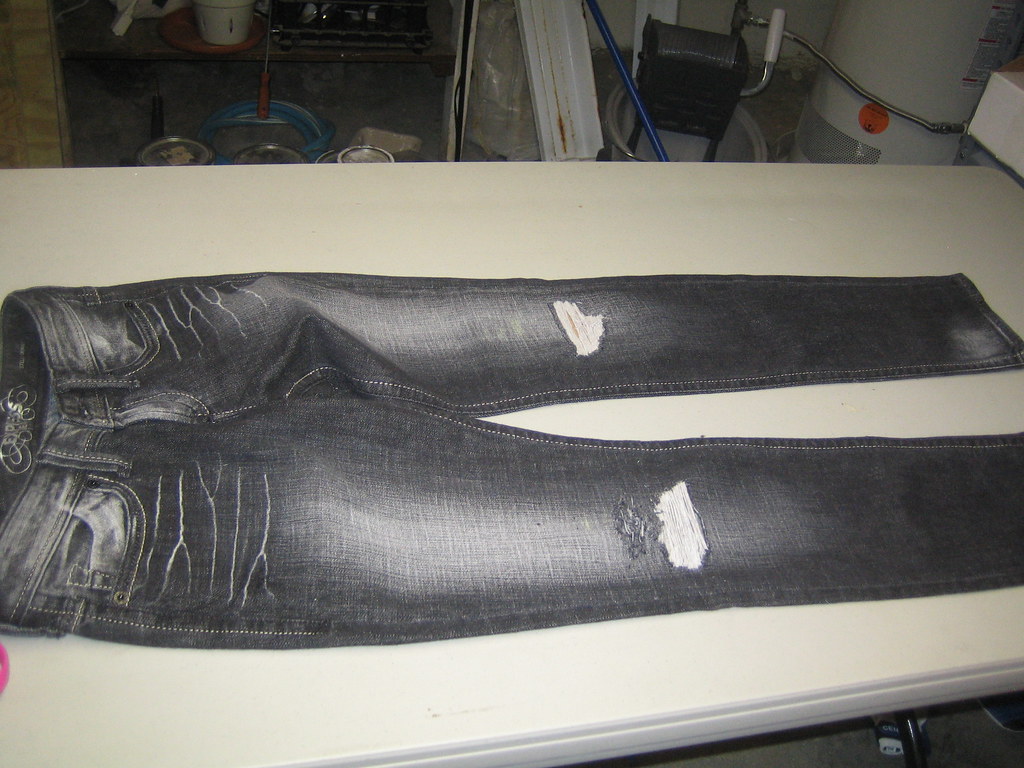
Here are the Jeans in Question after I shortened them


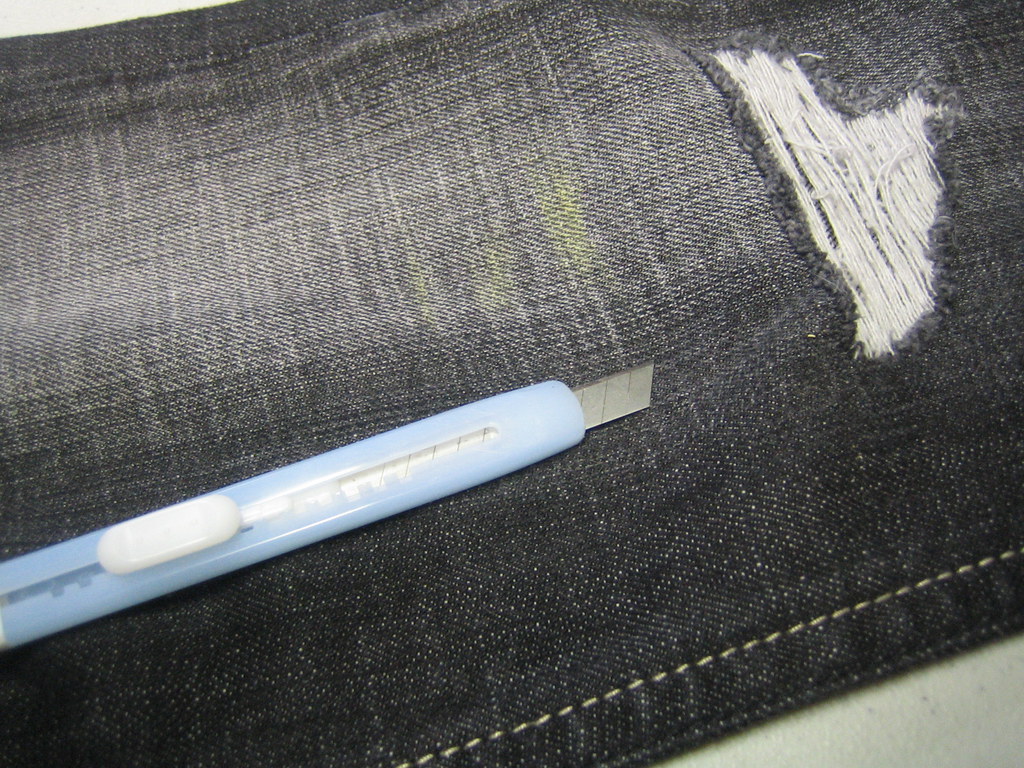
Here are the tools you would need to continue doing the shredding yourself in the more controlled and safe manner.   A Sharp Razor or Exacto Knife and small square of Cardboard.


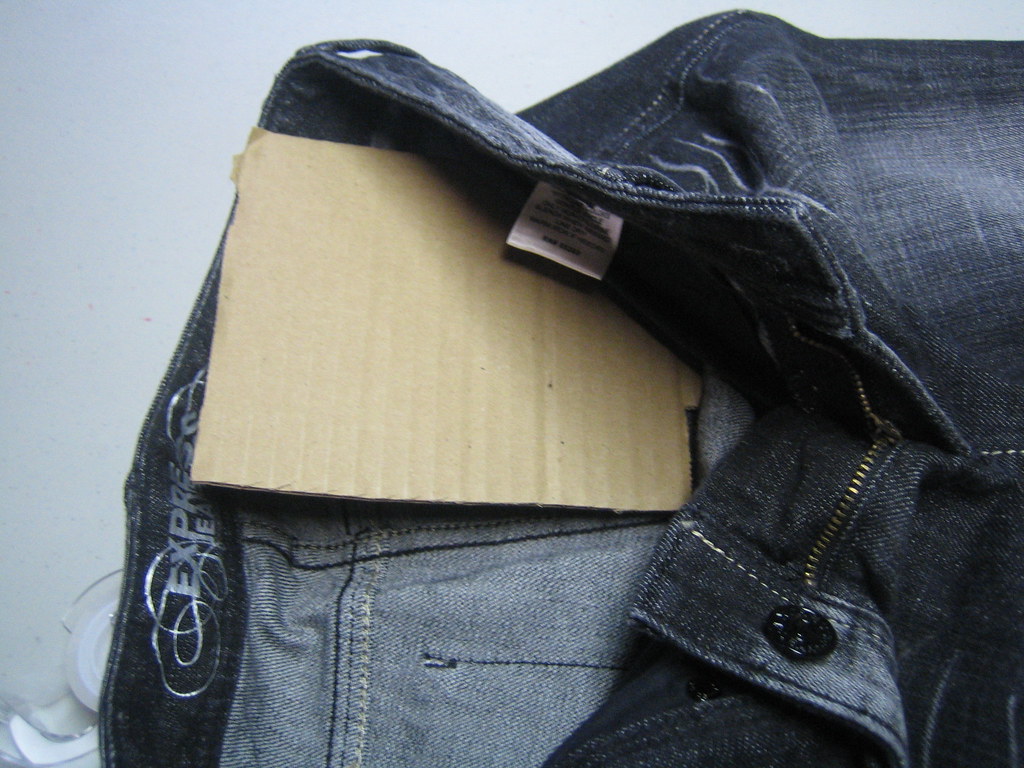
After Marking where I want to rip it I stuck the cardboard underneath inside the pants.  Personally I did want to shred the jeans on both the front and back so this was a good control.  Also having the Cardboard in there gave me a good surface to cut against.  If my blade went past the cardboard it didn't sink into the fabric and cut any further.


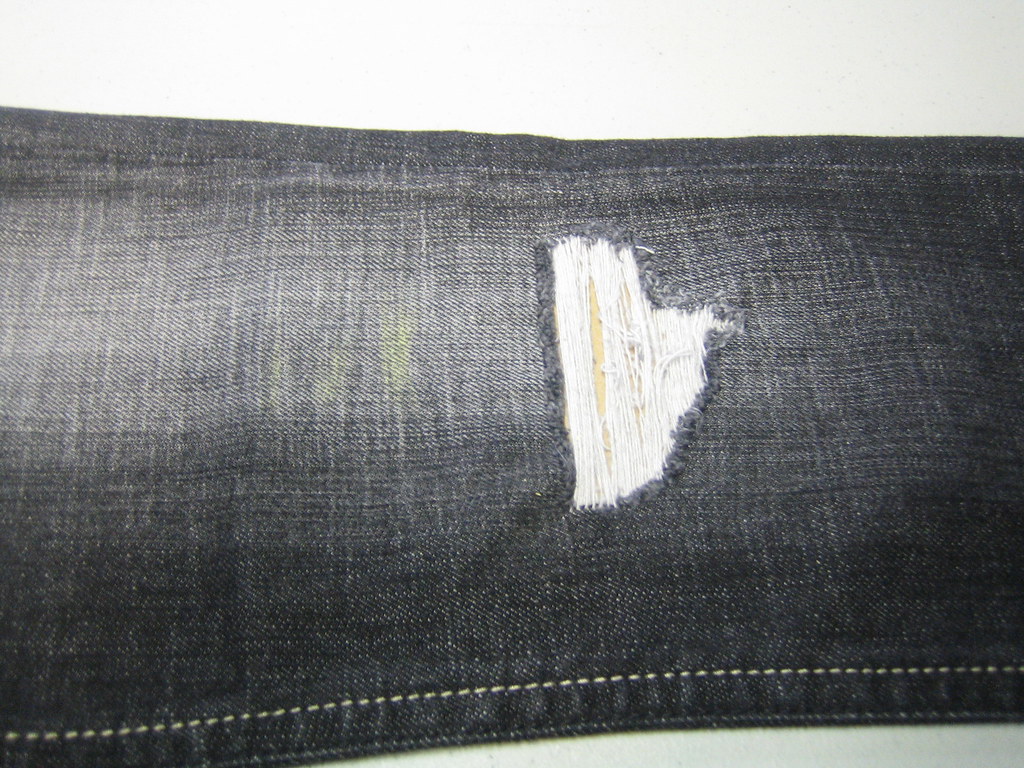
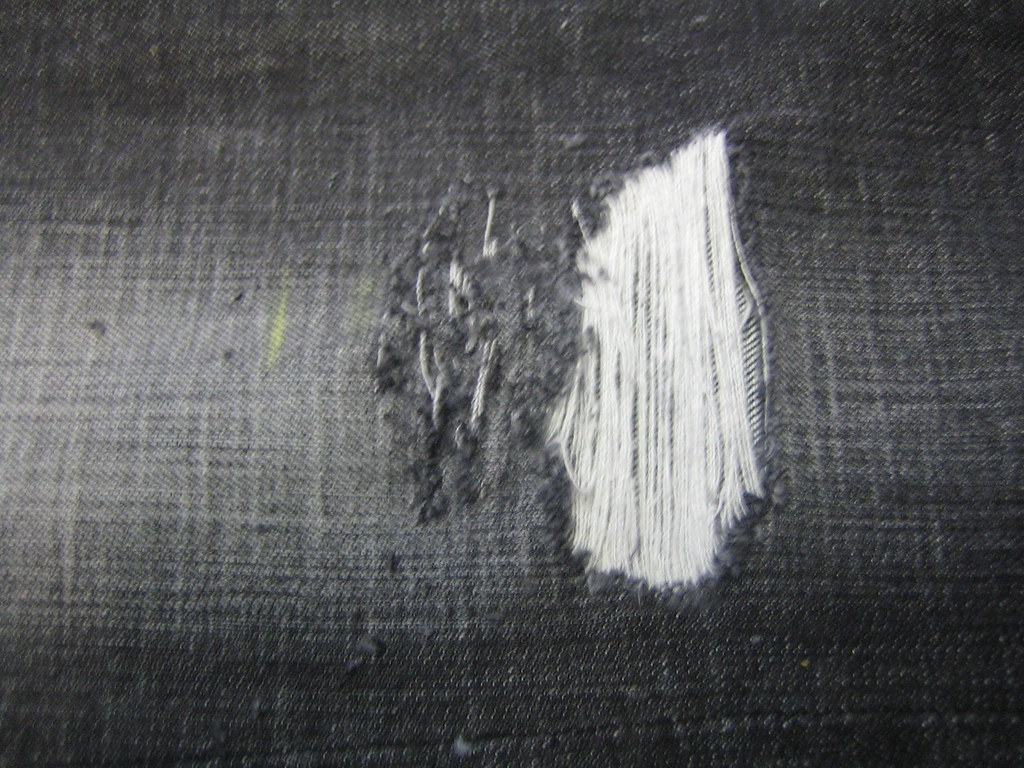
The before and after shredding.  When you shred this you need to pay attention and making slicing strokes to follow the already apparent pattern.  In this case the weave was missing horizontally leaving just the vertical strings so I needed to slice vertical as well to preserve as much of the vertical strands as possible.  Do not willy nilly slice it or move diagonally because that will cut those vertical threads that you want to preserve.  if you want to be really precise about it use a ruler against your blade to keep it all perfectly straight.  I know it looks a little ragged in the After photo but do NOT feel you need to get each individual strand out.  Every time you wash these jeans more and more of the middle fuzz will come out leaving you with just the rip you want.  After the first wash of these jeans I used a lint roller to go across the new rips to gently pick out the extra fuzz still clinging.

My End Results after one wash