After having completed some major projects I feel a little bit in a slump. I have another three lined up that I am brainstorming on but I'm finding it hard to put them into process. I decided I would take this doldrum to explore a few things I have been interested in. One of which has been sewing using one of the new Burda Style patterns from their online site. The idea of having all these cheap patterns on hand seems great for the avid or recreational seamstress. I went for a $2.50 Pattern called the Linda skirt. Simple A-line that is always classic, although I have my own pattern for this I thought it would be interesting to test the print at home abilities and their sizing for patterns.
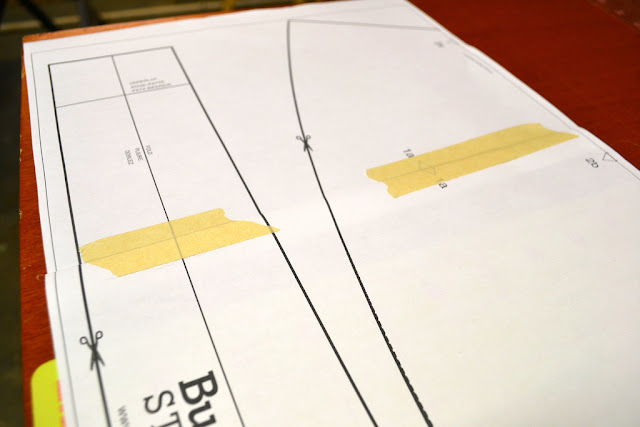
28 pages printed later I have this.
Which will need to look like below after being taped together for it to work.
I begin taping pieces together only where it is necessary. Working on it row by row and using my pattern weights to hold the pieces together and straight. It shows to cut off the extra slivers of paper between the pattern pieces but I don't want to waste time doing that, so I folded them down and make the edges crisp with a bone folder.
As you can see now everything matches up perfectly. Luckily the seam allowance of 5/8" is already included so there is a little room for error in the pattern.
Piece by piece I think this actually took longer then the sewing of the skirt itself. If you got off on one part it would set every part after that off skew by an increasing amount. There was much cursing and repositioning. If you do this, please use a low residue tape at first and then you can secure it down later, though I doubt many people would use the same pattern more then once unless they transferred it to butcher block paper.
I think it took me about an hour to get this all completed before you have to now cute it all apart. Seems a little pointless I know but this is how patterns work. Repetition and a lot of prep time to make sure the end product is done just right. My only mishap was in the far left bottom where you can see the "burda style" logo is a square that I didn't measure. It is supposed to be a 4x4" square and if it is not then you need to adjust your pattern or grade it. Apparently my square was too small because the entire pattern was 7" too small. This I did not know till later when I cut out the fabric pieces.
Anyways if you were smart enough to measure the square and not ignore it such as I did after the adjustments was cutting it out. Each dotted line represented a different size, which is always nice to see the grading changes.
Honestly at this point sewing was the easy thing for me. It called for a folded waist band and top stitch seam but of course I like to make things more difficult for myself and did a stitch in the ditch seam for the waistband.
I love the clean look of a stitch in the ditch waistband seam. When a skirt can be so simple it's nice to add in that extra touch of tailoring that most likely no one else will see but you know it's quality.
My fix of the skirt being too small was adding in 4" panels to each side seam and luckily I had not cut out my waist band so I made the pattern adjustments before cutting that from the fabric. Adding the panels put in more fullness to my skirt and I clearly am a lot shorter then the model in the photo. Their skirt hits her right below the knees where my version ended up touching the tops of my ankles.
Just another reminder to check your pattern lengths against you body before you commit to your final fabric.
Skirt - DIY from Linda pattern on Burda Style with Ikea upholestry fabric
Pop Killer Geisha T-shirt - Pop Killer in LA Little Tokyo
Green Cardigan- Express
Gold Chunky platforms - BCBGeneration


No comments:
Post a Comment